
How to request documents from a client in YakFiles
Chasing tax documents across email threads wastes days. A request sends the client a checklist with a secure upload link, tracks which items have arrived, and reminds them until everything is in.
Before you start
- A client workspace (see Create a client workspace)
Transcript
Send a client one checklist of the documents you need, with a secure place to upload them.
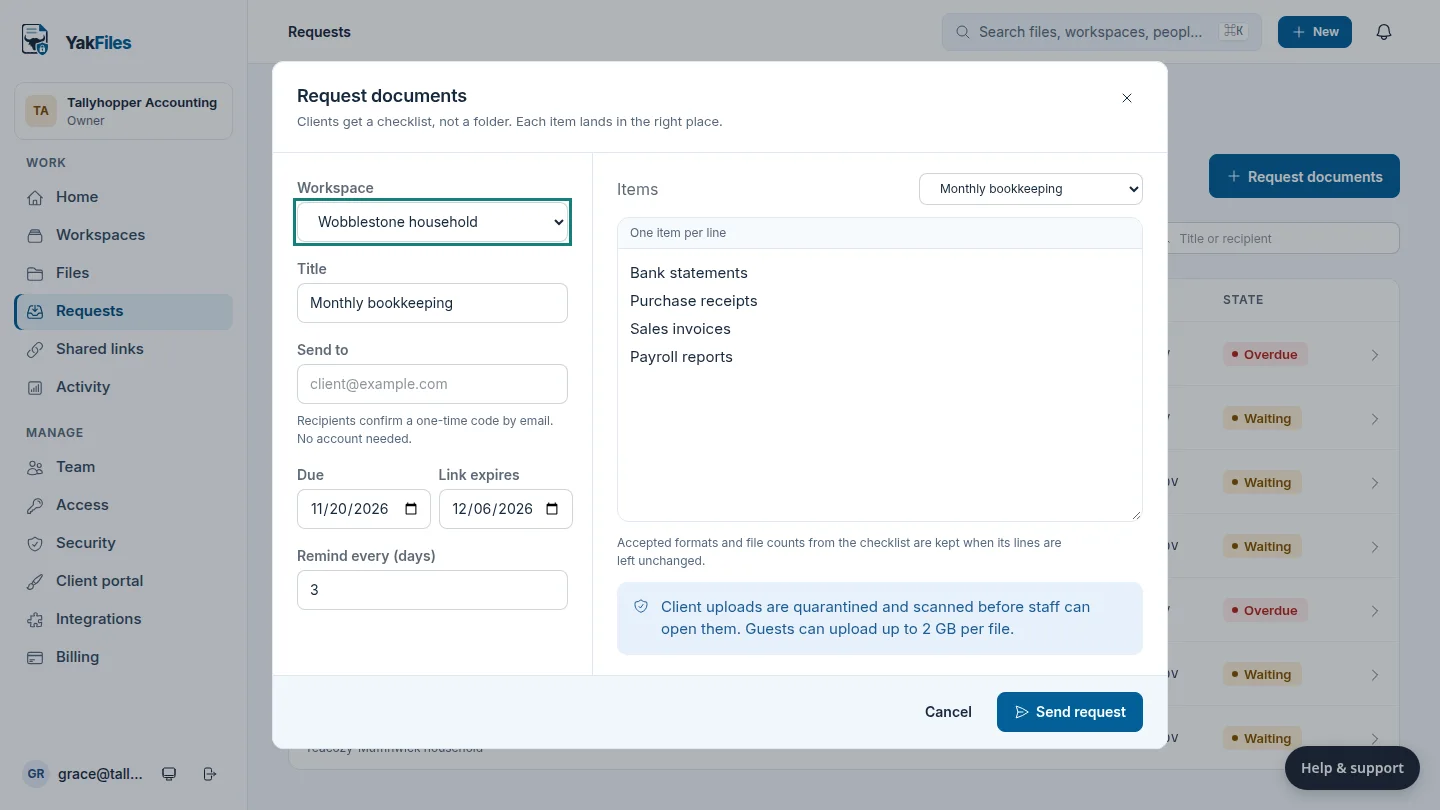
On Requests, select Request documents, and choose the client's workspace.
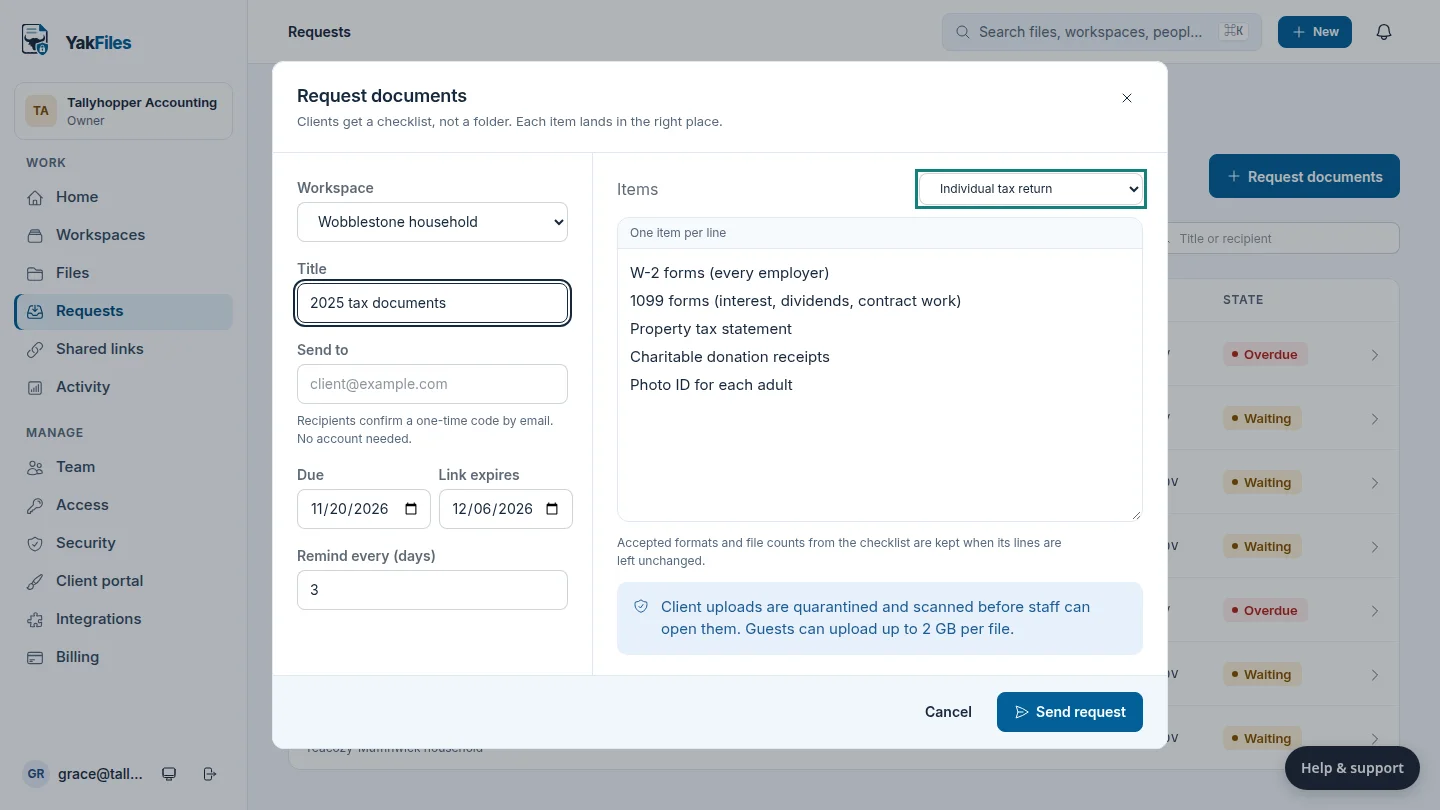
Start from a saved checklist. Individual tax return fills in the five items your firm always asks for. Then give the request a title the client will recognise.
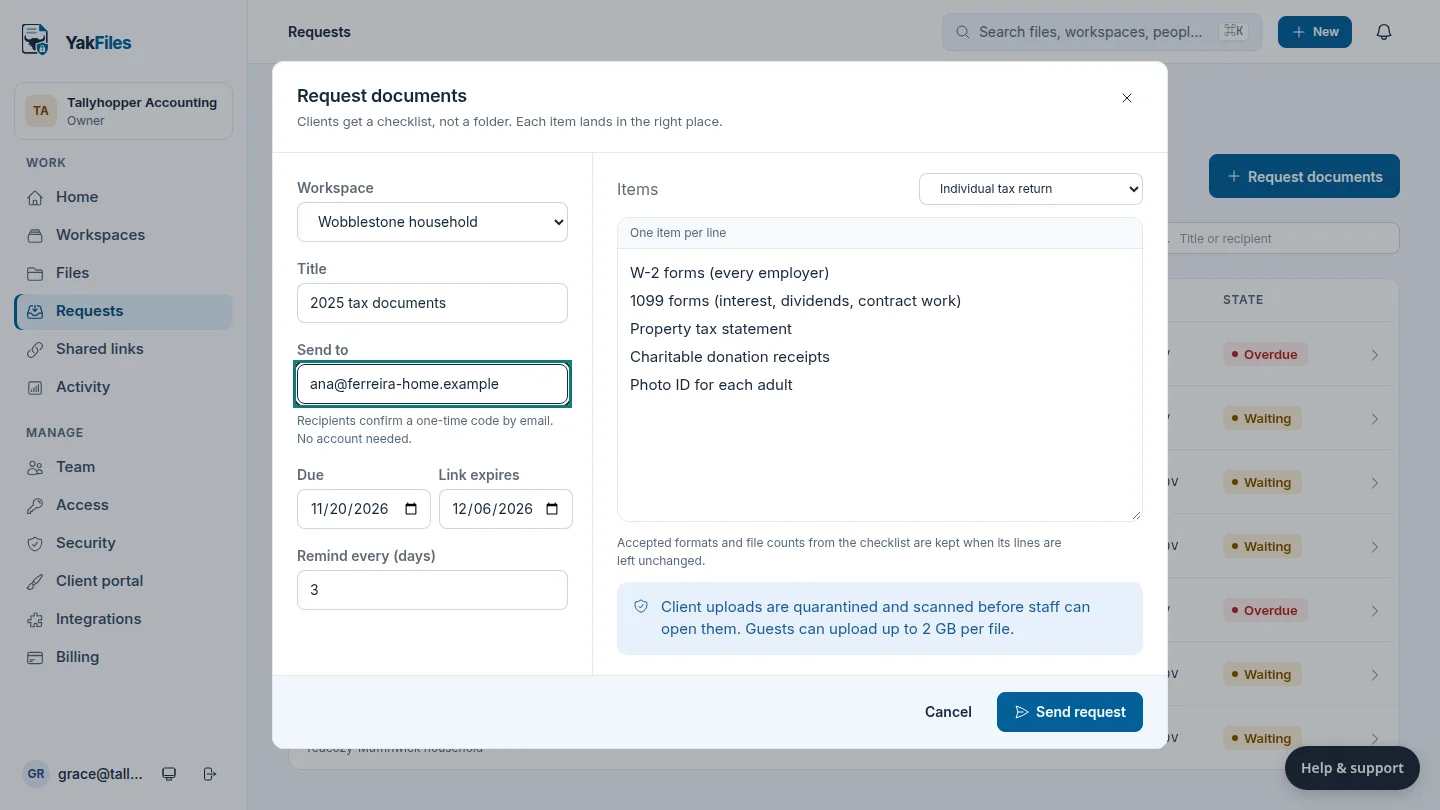
Enter the client's email under Send to. The due date starts two weeks out, and YakFiles reminds the client every three days until the checklist is complete.
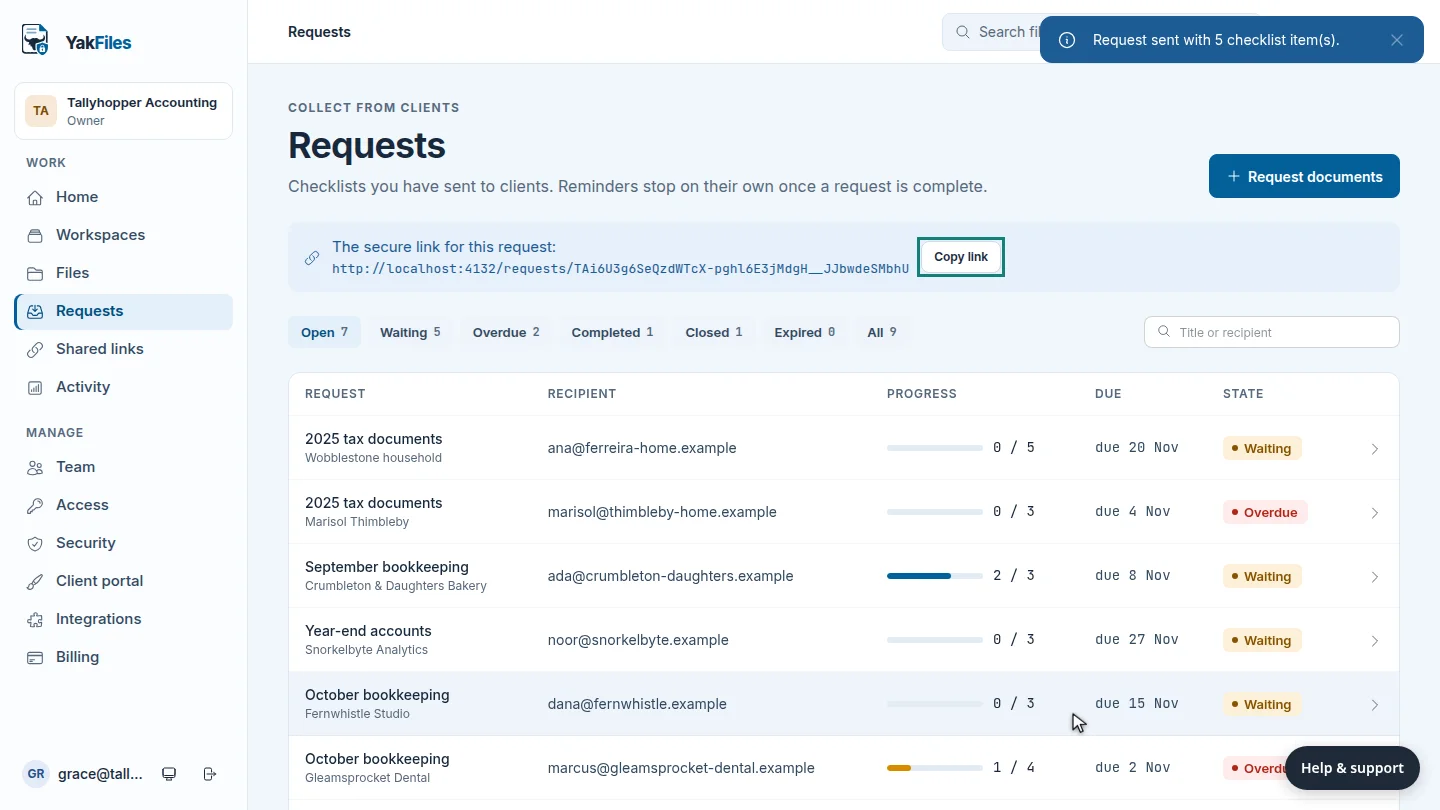
Select Send request. The request joins your list, and the secure link is ready to copy if you'd rather send it yourself.
Steps
Start a request ▶ 0:07
In Requests, select Request documents. For Workspace, choose the client.
Choose a checklist ▶ 0:13
Under Items, choose a checklist, such as Individual tax return, then enter a Title. Edit the items if this client needs something different.
Add the client and check the dates ▶ 0:24
Enter the client's email in Send to. Due defaults to two weeks from today and Remind every (days) to 3; change either if you need to.
Send it ▶ 0:35
Select Send request. The request appears in the list, and Copy link copies its secure link.
Next steps
- Upload documents to a request (client view)
- Review and accept a client's upload
- Change request reminders
Updated 2026-10-26
document request client checklist tax organizer collect documents secure upload link